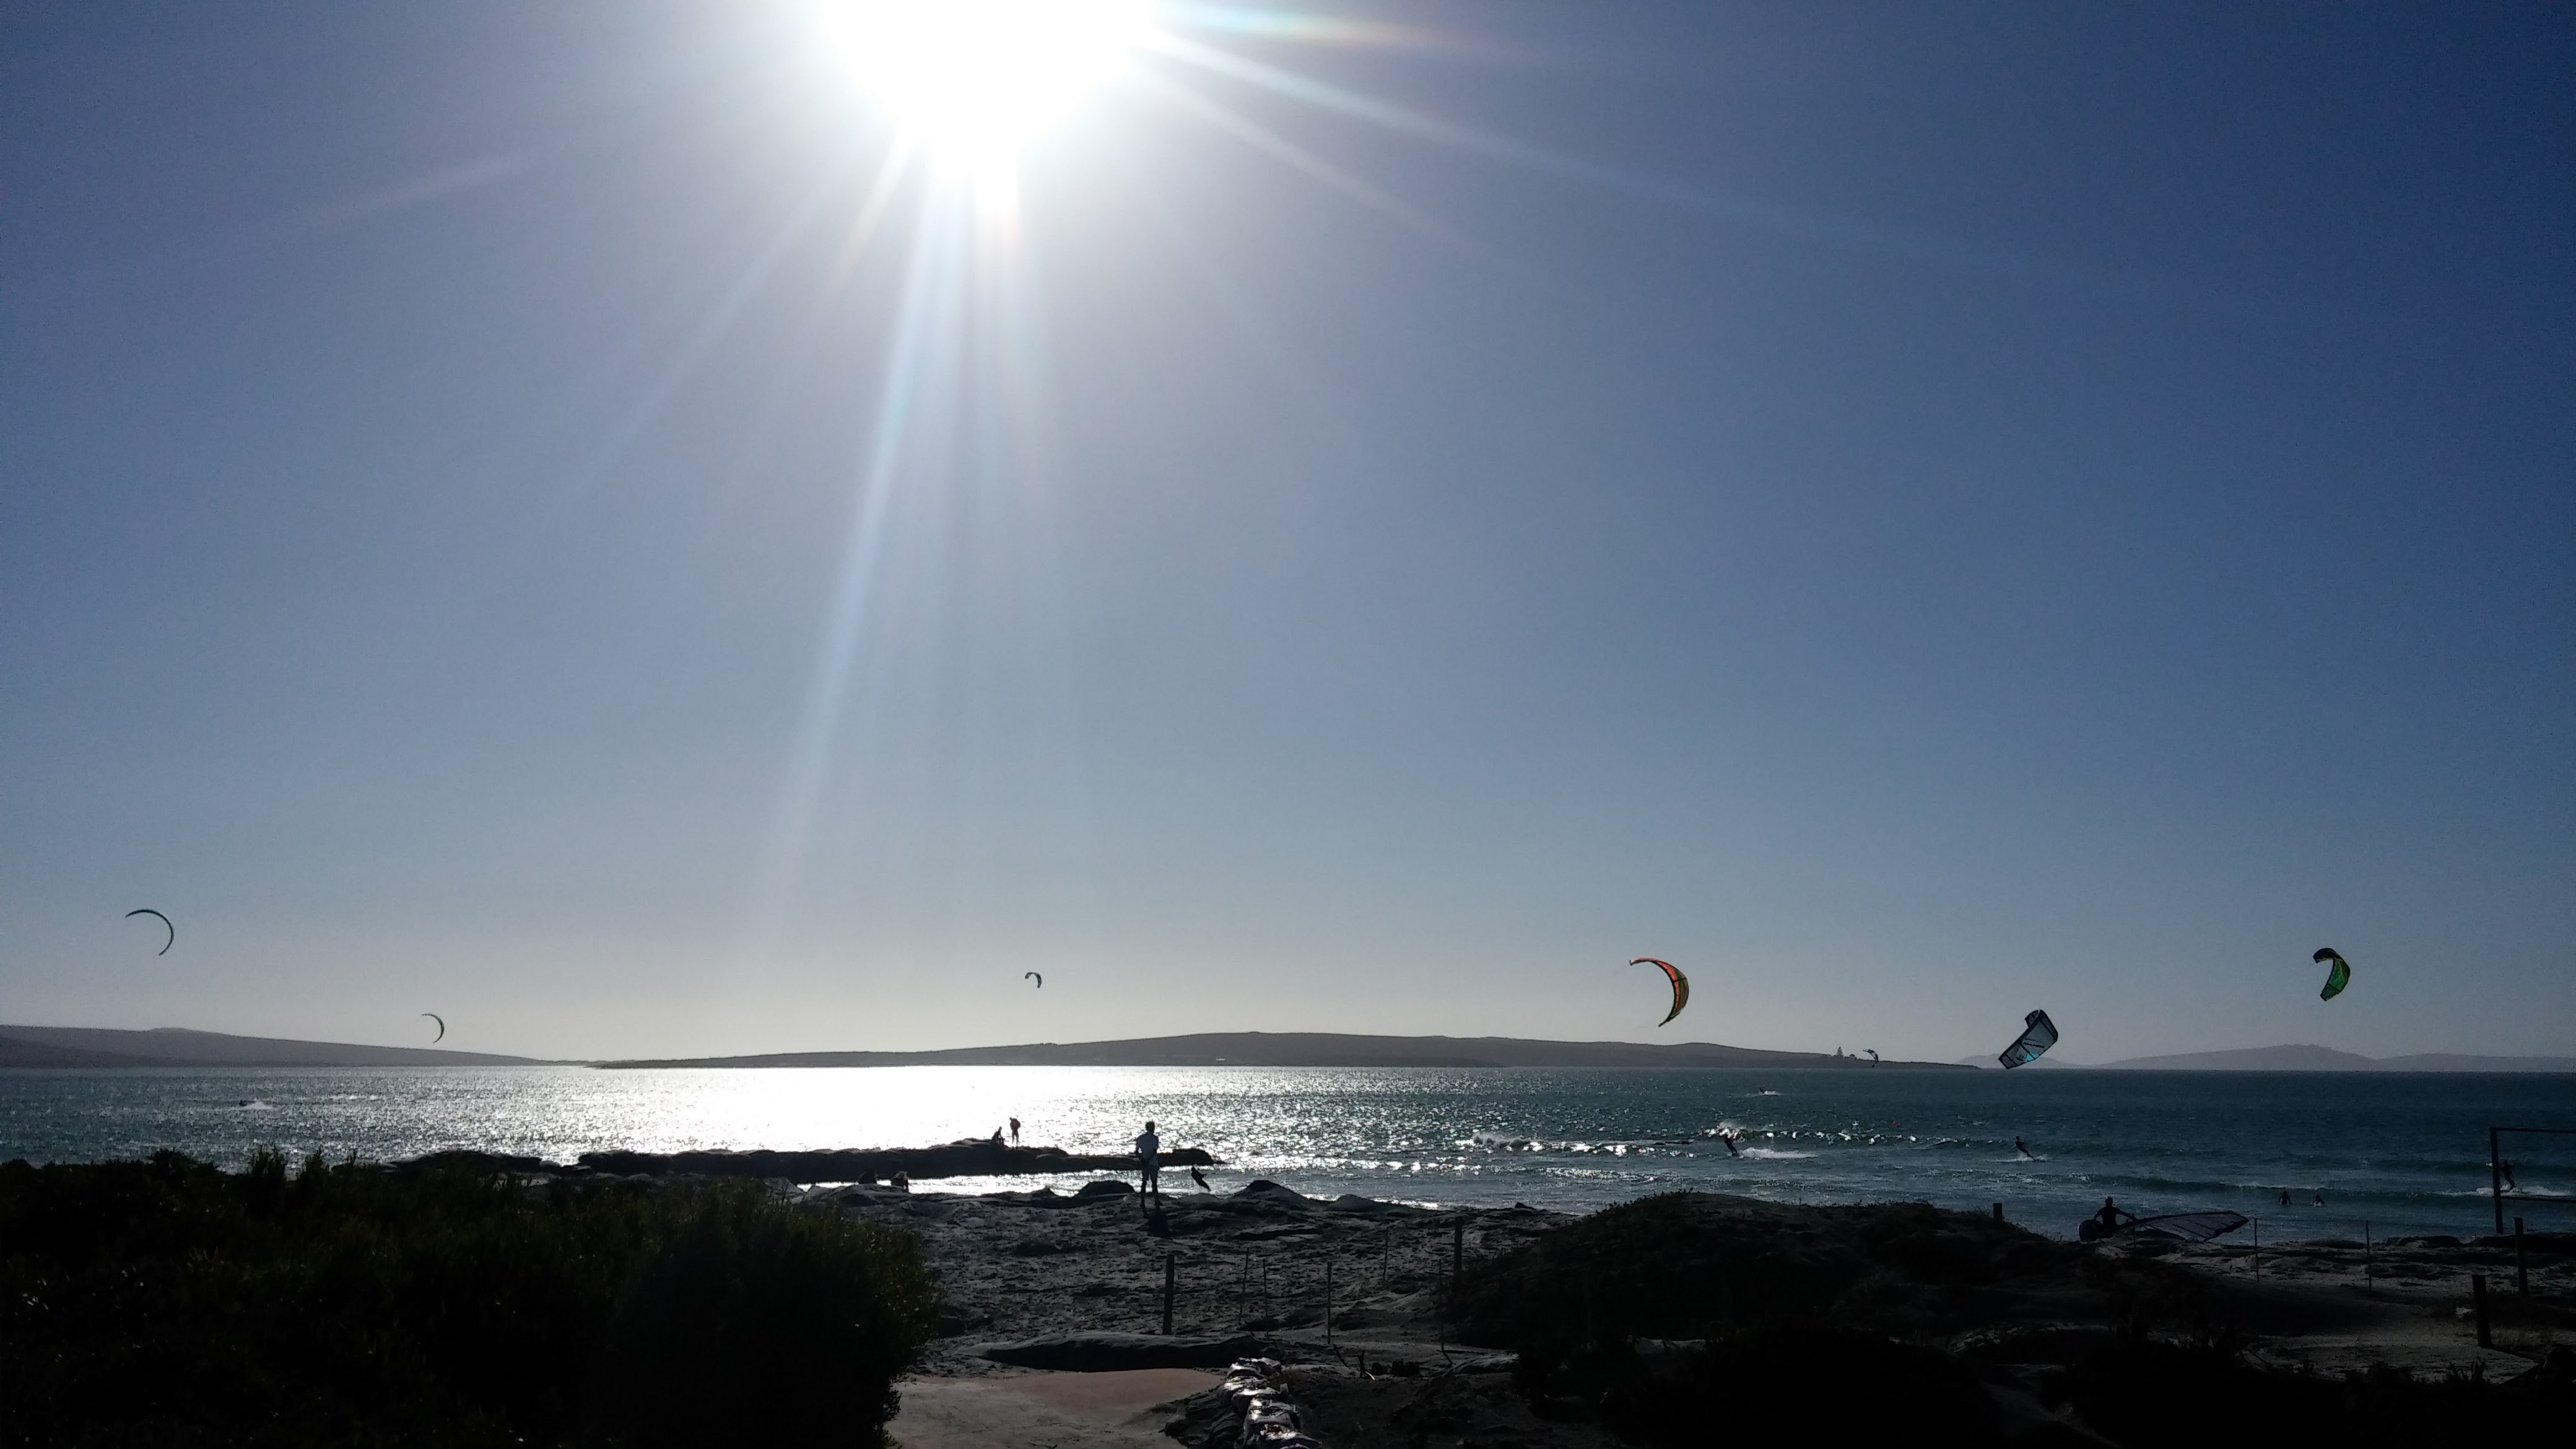
To get started in the amazing world of kitesurfing we first suggest you take some lessons to make sure you are independent and are safe on the beach and water not only for yourself but for others around you. If you have ticked this off your list, well done! You are going to want some equipment to get going independently!
Kitesurfing gear for beginners and kitesurfing gear for experts is going to be very different. The pros want kites that pull like trains and boards that have maximum pop. I wont bore you with the rest of the jargon, but those qualities aren’t necessarily great in the gear for kitesurfing beginners!
We have compiled a list to help point you guys In the right direction and allow you to choose gear which will allow maximum progression whilst also allowing room to grow into the gear as your skills also grow:
- Harness –
We recommend in the early stages of learning either getting your own harness or trying as many different types and styles as possible before you settle on one. A good harness is like a good pair of walking boots: if they fit well and are comfortable, you can stay in them for hours and not even have them on your mind. If you know that kitesurfing is for you then spending a little extra to be comfortable will make all the difference.
- Kite-
The kite is where most of your hard earned money will go and we suggest trying as many different brands and styles of kite as possible to make sure you get the right one! Many if not all the major kitesurfing companies do demo days which is a great opportunity to try out gear for free! The key things for a beginner to look for are durability, re-launch, upwind performance, and wind range. Durability is a super important feature of a kite and as technology advances, so does the durability of the kite. If buying a second hand kite, check that the canopy is still crisp and is free from repairs, rips, or pin holes. But to avoid this for kitesurfing beginners, we recommend buying new.
Water re-launch will be very important as this will make every session hassle free and when the wind is on the lighter side a kite with good water relaunch will make your session much more enjoyable. A C kite, for example, will be much harder to relaunch than a delta hybrid kite due to its shape sitting on the water.
Going upwind is a crucial part of kiteboarding and all kites go upwind differently. If you are looking to get into wave riding, the upwind performance is one of the main things you look for, but for freestyle it is not such an important aspect. A kite that goes upwind easily will, however, make your learning experience a heck of a lot easier as getting back to the starting point on the beach is always a nice feeling. Walking upwind or getting rescued is never fun.
Kitesurfing is an expensive sport so buying one kite with lots of range is a great plan to start with and as you progress, adding kites to the quiver to get out more will mean many more hours on the water. Unfortunately, there is no magical formula for the exact right kite for the exact day, but this table will give you some rough guidelines. But remember, it is only a rough guide! It outlines weight vs. kite size for wind range from around 16 to 25 knots .
| Weight (kg) | Kite size (m2) |
| 59 | 8 |
| 66 | 9 |
| 74 | 10 |
| 81 | 11 |
| 88 | 12 |
| 96 | 13 |
| 103 | 14 |
| 110 | 15 |
- Kiteboards-
There are some great boards out there that cater to the beginner market. The most important information when choosing a board is weight and skill level. For a beginner, having a larger board to begin with is always a good idea as it will give you more planing area and keep you going if the wind gets light. But be aware that you may grow out of it at some point!
Here is a rough guide for board sizing:
Lighter and smaller people (<150lbs), 136cm – 148cm in length.
Medium sized people (150 – 200 lbs) 145cm – 160cm.
Larger riders (>200 lbs) would be looking in average of 150cm – 165cm as a starting size kiteboard.
Overall Board Shape – Rocker, Width, And Outline
Rocker- A kite board with a lot of rocker (curvature of the bottom from tip to tip) will feel and ride smaller than it actually is. Flatter boards ride larger because of their ability to slide along the surface.
Width- The average width of a kiteboard is around 40-43cm wide across the middle. If you have found a board that is narrower than 40cm, then you should try and add some length. If the board is wider than 43cm, it will allow you to plane sooner with less power, so you can reduce the height of your board somewhat. Wider boards are more difficult to use in choppy conditions where a narrower board wont be as good in light wind conditions
Outline Profile- If a board is wider in the middle and tapers heavily towards the tips, it will not displace as much water as a board that that equal width throughout the full length. A board that displaces more water will need less kite power, will hold up a larger person at lower speeds, and ultimately lead to a few less centimeters in length being necessary.
- Directional Boards
Directional boards in kitesurfing are influenced by the worlds of surfing and are used in wave locations around the world. They’re slightly thinner than a surfboard and have sharper edges. In terms of length, these boards are usually somewhere between 140cm and 230cm. They require more experience and skill to use but are great fun once mastered.
- Control Bar-
Left bar end and line ends are usually colour-coded yellow or red.
Right bar end and lines are usually colour-coded black.
(But check this as some brands use different colours)
The three most common bar and line types are:
- 4 line bars (most common) have two centre lines attached to chicken loop and leading edge of of the kite and two outside lines attach each wingtip of the kite to the respective end of the bar. These lines power up the kite and turn it.
- 5 line bars (not so common) is the same concept as the 4 line system, but with a 5th line (usually) attached on the leading edge to de-power the kite and assist in relaunching it.
It is important that you always use the bar and lines that are specific for your kite. Get replacement lines specific for your model and year of kite. Different line lengths could change your kite control characteristics dangerously.
Bar configurations vary considerably. The two main types are:
- Above the bar de-power
De-power adjustment is above the bar, which keeps it out of the way, but can make it difficult to reach
- Below the bar de-power
De-power adjustment is below the bar, which make it easier to reach, but may be more difficult to adjust
Safety-
Most companies use their own style of eject system which are relatively similar to each other in some way but it’s extremely important that whichever control device you use has a highly reliable safety release feature and that you get to know your safety system extremely well before going out. Try, if possible, to test it in shallow water close to land, rather than on the land itself. This is to minimize the risk of the kite crashing into dry land and breaking.
Recent Comments